Step 1: Record your narration
- Keep the recorder on MP3. 128 or 192 kbps is plenty for a voice.
- Click Start recording, allow the microphone, and read your first slide.
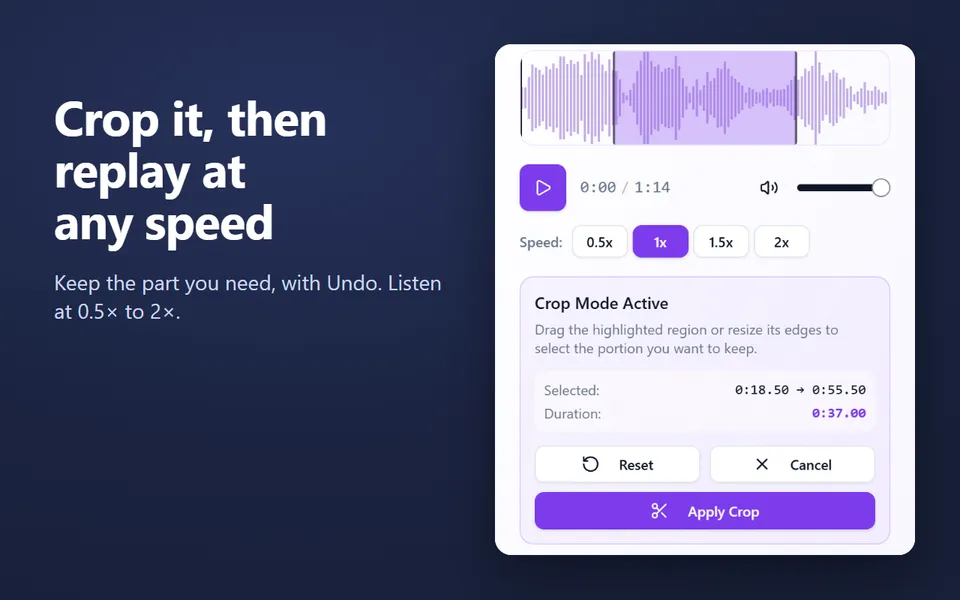
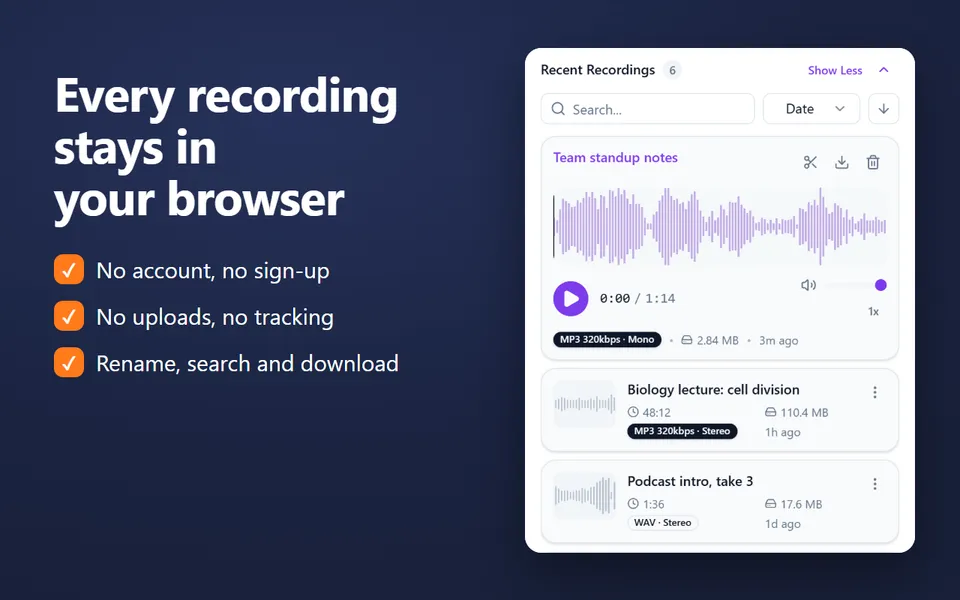
- Click Stop and save, listen back, crop the silence at the ends, and click Download. Name it after the slide, for example
slide-1.mp3.
Record one file per slide: if you stumble, you redo only that slide.
Step 2: Upload the file to Google Drive
Open Google Drive, click New › File upload, and choose your MP3. Slides can only insert audio that is in Drive.
Step 3: Insert the audio in Google Slides
- Open your presentation and select the slide.
- Click Insert › Audio.
- Find your file in My Drive or Recent, select it and click Select.
- An audio icon appears on the slide. Drag it where you want it.
Step 4: Choose how it plays
Select the audio icon and click Format options. Under audio playback you can:
- start it on click or automatically when the slide appears;
- set the volume;
- hide the icon while presenting;
- loop it, or let it stop when the slide changes.
Step 5: Share the audio with your audience
When you share the presentation, Slides offers to share the audio files too. Accept it, or anyone without access to the file will see the icon but hear nothing. You can also share the files from Drive.
Tips for a clean voice-over
- Use a headset or a USB microphone if you have one, and check it with the mic test.
- Record in a quiet room with soft furnishings. Keep Noise reduction on.
- Keep a steady distance from the microphone, about a hand’s width.
- Write a short script for each slide and read it aloud once before you record.
Updated October 15, 2026